
In todays blog we will show how to have a pop-up window open on button click in CRM. To achieve this we need to follow these 3 steps:
1. Create HTML Web Resource
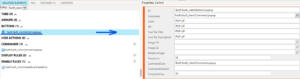
First, we need to create the HTML web resource as shown below for my example :
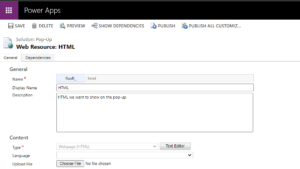
Note : The Display Name of this web resource is also the name that shows up in top of the pop-up window , so if you want to change the title that shows up in the pop-up you can do it from here or in the JavaScript code.
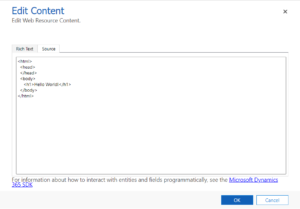
In the html we can add whatever we want but for this example I choose to go with the famous “Hello World!” as shown below :
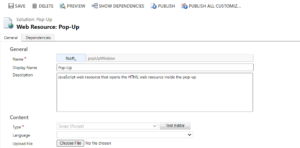
2. Create JavaScript Web Resource
Then we need to create a JavaScript web resource , the purpose of this JavaScript web resource is that we call this web resource on button click and the JavaScript code gets triggered and it opens the HTML web resource.
    function OpenPopUp () {
      var pageInput = {
      pageType: "webresource", //this can be: entity list, entity record, dashboard, HTML web resource or custom page
      webresourceName: "fisoft_html" //this is the logical name of the pageType we choose to open
    };

    var navigationOptions = {
      target: 2,  // value: 1 it opens the page inline , value: 2 it opens the page in a pop-up format
      width: 400,  //width of the pop-up
      height: 300,  //height of the pop-up
      position: 1  //value:1 it opens the pop-up in the center of the screen, value:2 opens the pop-up on the side of the screen similar to a side bar
    };

    //navigateTo is a build-in method by Microsoft
    Xrm.Navigation.navigateTo(pageInput, navigationOptions).then(
      function success() {
        console.log("Success");  // Handle dialog closed
      },
      function error() {
        Xrm.Navigation.openAlertDialog({ text: error.message });
      }
   );
  }
3. Create and add the button on the ribbon we want
Now we need to add the button on the entity we want this HTML pop-up to show up , for this we can create a new custom entity or use some existing entity. I created a new entity named Clients (fisoft_client) and by using the XrmToolBox application I added the button on the record list of this entity with the tool Ribbon Workbench (for a more detailed explanation of how to use Ribbon Workbench check this post : Click here) , as shown below step by step :
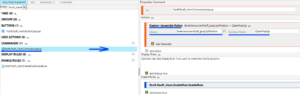
1) I choose to add the button to the record list for the entity but feel free to put it wherever you like , inside the record or out , the button is created and setup as shown below:
2) Then we add a command to our button which basically tells the button how to behave , as seen in the picture below we have specified a Custom JavaScript Action , this action allows us to choose what web resource we want to trigger on click of the button and also the function that will first get triggered. We set up the JS action with the values of our JavaScript web resource we created earlier.
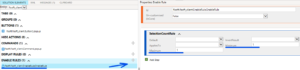
3) Lastly I have added an enable rule , you can skip this step if you don’t want it but basically an enable rule specifies what conditions need to be fulfilled for the button to get enabled , in my example the enable rule I have set up makes the button show up only when the user selects 1 single record from the list , for 0 records and more than 1 record selected the button doesn’t show up :
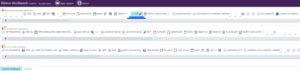
After finishing all the steps we go to the CRM environment and let’s see if the button and the web resources work as desired:
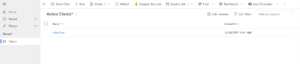
As we can see from the picture above , we can’t see the button we created so that means the Enable Rule works fine , now let’s select a record and see if the button shows up:
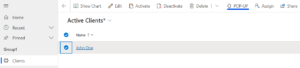
The button shows up as expected but let’s see if the web resources work properly:
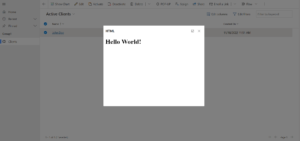
As seen above everything works as expected, now feel free to delete the ‘Hello World!’ and get creative with the HTML, thanks for reading 🙂